
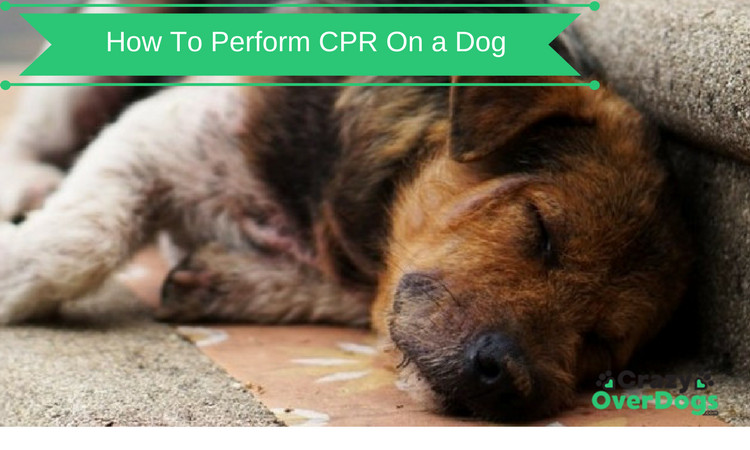
Listed below, are the vital ABC steps on how to perform CPR on a dog, should an unfortunate emergency occur. Please do not practice any form of CPR on your dog, or any healthy animal. This can result in serious injuries such as a collapsed lung or broken bones.
There are various classes available in your local area to show and train you on the proper way to respond to an emergency. As always, please discuss it with your vet ahead of time.
We give these tips because we are crazy over dogs and love our pets so so much. The health benefits they bring to our lives are just immense and we are better people because of them.
———————-

—————————-
The 3 vital steps for how to perform CPR on a Dog:
1): A for Airway
It’s important, if possible to gently open the mouth, then pull the tongue out in order to determine if the dog is breathing. Look at the dog’s chest for respiration signs or to feel signs of breathing, hold your hand over the dog’s mouth.
If you are sure that the dog is not breathing, you would need to perform mouth-to-mouth procedures. Close the dog’s mouth, cup your hand and place it around the dog’s nose. Then breathe two breaths directly into the dog’s snout. Provided the breaths go into the snout, you should proceed to step 2.
However, if you find the breaths appear to be blocked or obstructed, you should open the dog’s mouth and check for any object which is visible.
If you can see an object, then try to remove the object, by pressing gently in an upward motion on the dog’s throat. If there is no object visible, then proceed with the Canine Heimlich Maneuver.
Please do not go to step 2) until the airway has been cleared.
2): B for Breathing:
The ideal procedure to follow is one breadth for every three seconds. If the dog is small, it is advisable to use small breadths and a full breadth for a large dog.
During the procedure, it is important to ensure the mouth is closed as you try to blow the air directly into the dog’s nose. Never force the air into the nose.
3): C for Circulation:
Once you have followed A and B, check for a pulse through the femoral artery, or feel for a heartbeat by laying your hand on the dog’s chest on the upper left. Start compressions on the chest if no heartbeat or pulse is found.
To locate the correct place where you start the compressions, lay the animal on its right side, and locate the middle of the chest. This should be where the ribcage touches the left elbow.
For small dogs, less than sixteen pounds in weight, you should use the thumb and forefinger for the compression procedure. The proper procedure of three compressions for every two seconds is recommended to ensure the CPR will work properly.
The compressions should be carried on fifteen times, then two breaths introduced.
This procedure should be repeated as necessary, with checks carried out periodically for signs of breathing or a pulse. If a pulse or any signs of breathing are found, then stop the compressions. Do not stop until the dog starts breathing on its own or until you have arrived at your vet or clinic.
————————————–
My little dog – a heartbeat at my feet.
…………………Edith Wharton
—————————————
————————
Disclaimer: All material on this website is provided for your information only and may not be construed as medical advice. No action or inaction should be taken based solely on the contents of this information; instead, readers should consult appropriate health professionals or veterinarians on any matter relating to their dog’s health and well-being. The publisher is not responsible for errors or omissions.